King’s Pride Refit Blog
Fuel Tank removal

Jennifer had reported the aft fuel tank leaking and the forward one contaminated – that’s why we did the delivery on a small 1 gallon can that had to be topped up as we cruised!
Tanks are generally installed early in a build and then built over and around, this project was no different. We started by removing all the trim and the sub-structure for the quarter birth in order to access the tank below, there went a half-day shift. Luckily the tank came out pretty easily after that and in one piece – we’ve seen many boats where the tanks had to be cut in half to remove.
Check out delivery to school with underway re-fueling!
We found out why It didn’t have any fuel…. as the hole was at the very bottom. Tank had two problems. #1 Battery acid most likely caused the first finger size hole in the bottom corner. Second that forward edge was in constant contact with the hull – this allowed for moisture and more corrosion than we’d like on a that lower seam. We will modify the tank by removing the bottom 1” or so and welding in some new plate. This will fix both problems. The rest of the tank is in great shape, other than not having access ports, but we are adding them!
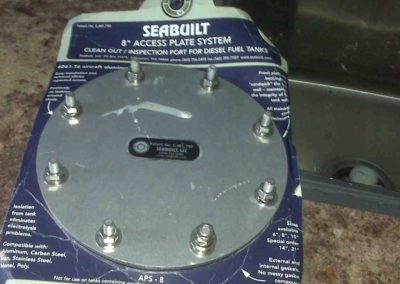
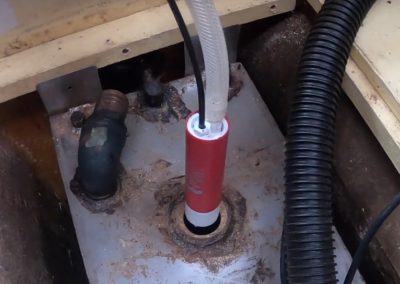
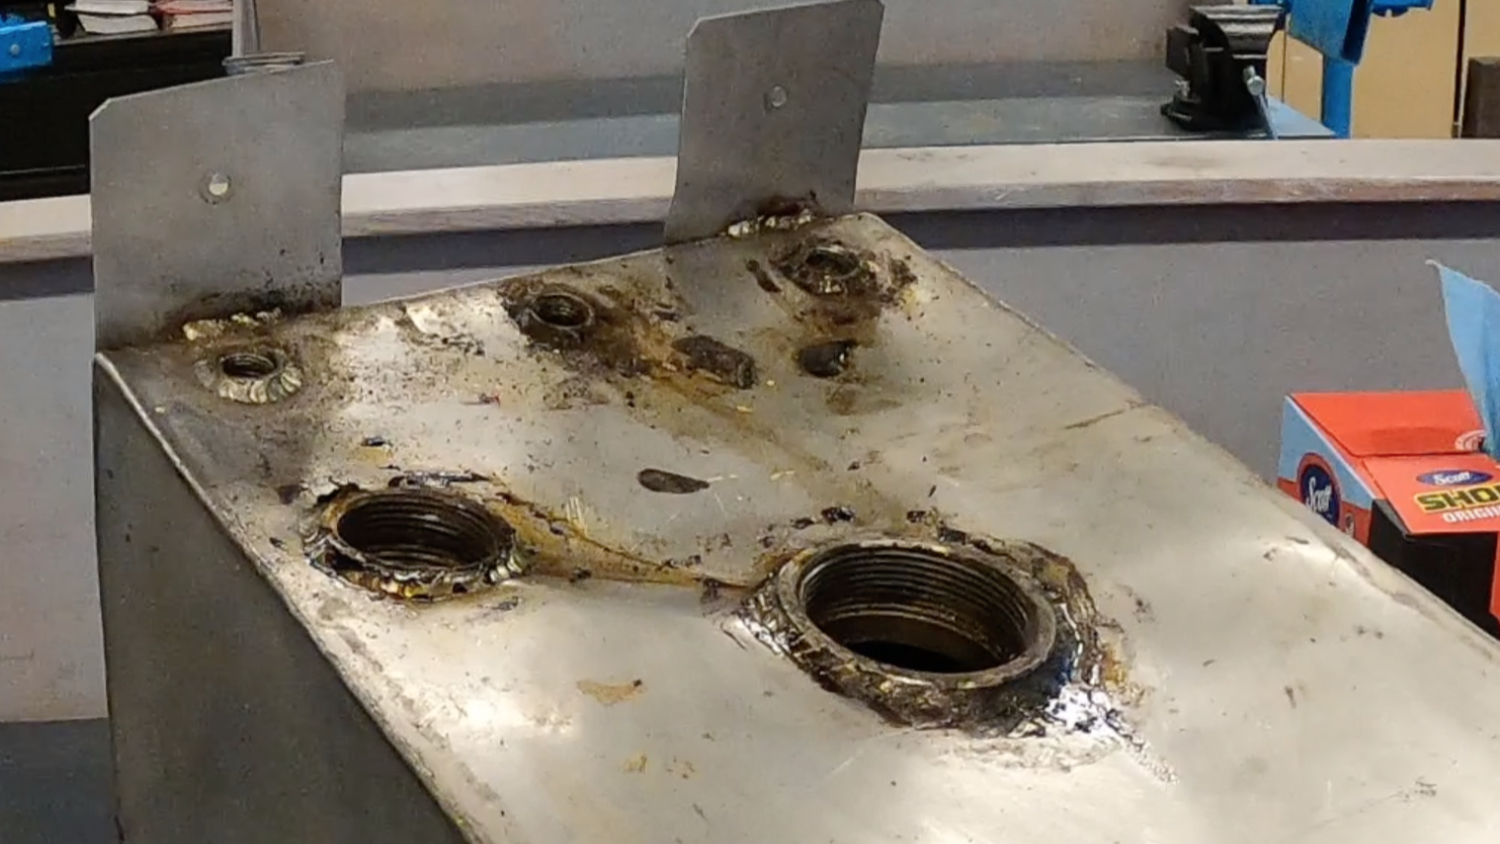
The main tank is stainless steel and in pretty good shape. It needs access ports and a good cleaning, for sure! The top, where the fittings were added is a bit distorted, and we will cut that out and make better with a thicker plate. Also we want to add a fuel pick up, at the very bottom, to pull samples and make sure there is no water or other contaminets. This will be a great fuel system when finihsed.
Next steps are to cut open the top and instal inspection ports. Once open, they will get further inspection and a good cleaning. Would have been great if we had this ability to clean & inpssect without all the hours to remove the tanks, but at least we got a good look at the bottoms and entire surfaces.


