King’s Pride Refit Blog
Rudder, Part 2: Looking good

We didn’t know the construction of the rudder, and no information was available, so we drilled the first 2” hole, to have a look. The rudder was really well built and had incredibly dense foam inside – and it was dry! The good news was the hole was in a most perfect spot, and the rudder looked great inside! No signs of water intrusion. Next we built a jig to hold the rudder for the repairs and we drilled a couple more holes!
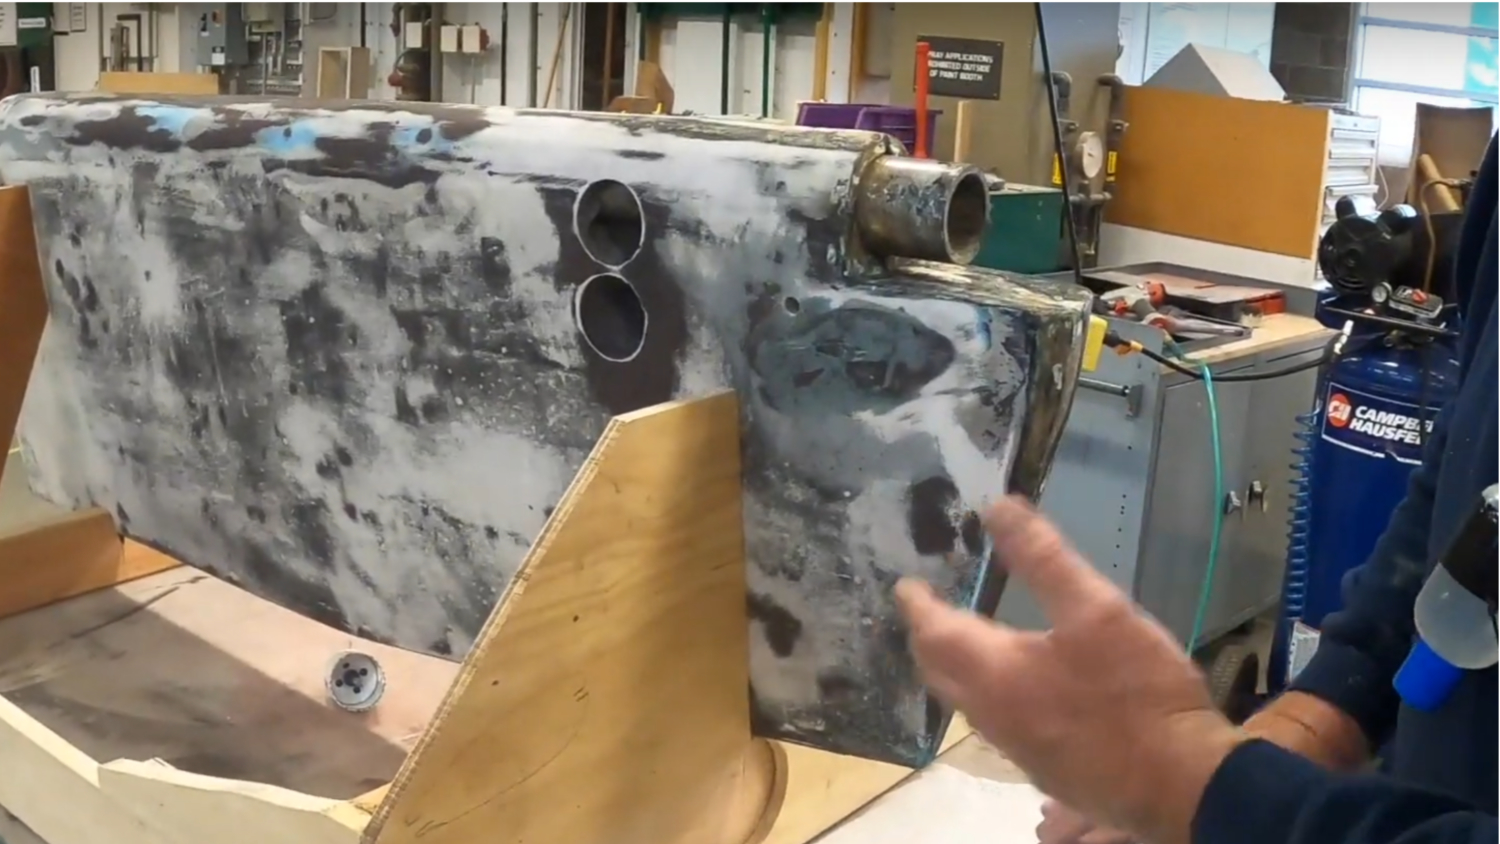
After a complete inspection, we are completely satisfied this rudder can easily go another 10 years. Next we just have to figure out how to put it back together!
But now, we had another mystery to solve… Where did the water come from? More coffee. The pipe! The gudgeon has a pretty tight fit, and the rudder post is not solid, it’s a pipe that fills with sea-water. When the boat is hauled that water came out the bottom and appeared to come from the rudder, but that was not the case. Relief! Maybe we’ll put some sort of plug into the pipe.
Next steps is to get the bottom paint off, get a grinder out, and repair the holes a few other areas of the rudder. Shouldn’t be too bad.

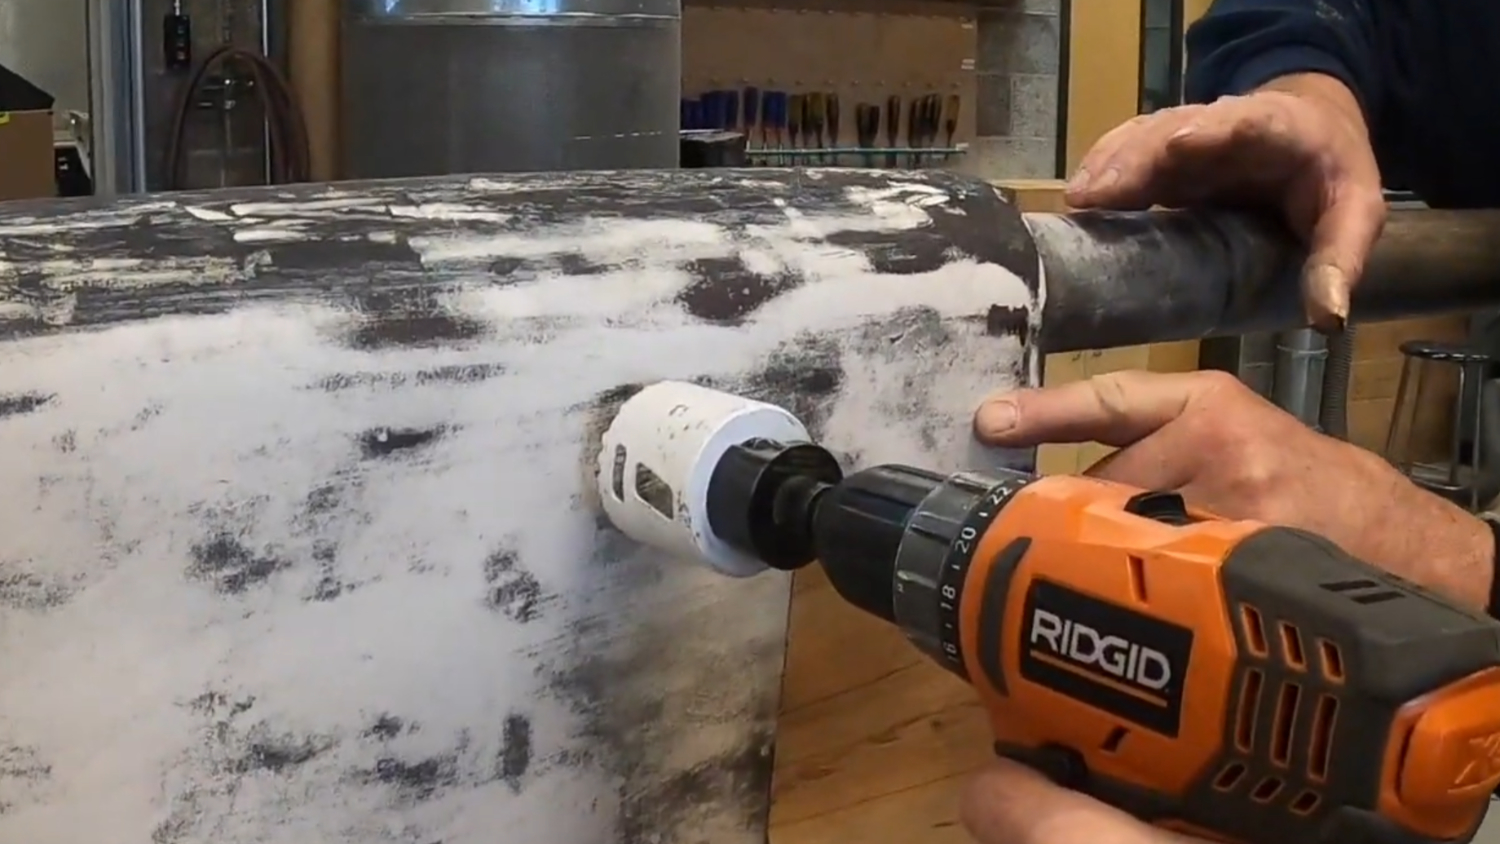
After drilling a couple of more holes, we were delighted that the rudder was very well built and has survived all these years in GREAT shape! Next step is to do a burn out test and find out what material we need to put back in to make it the same as originally designed!
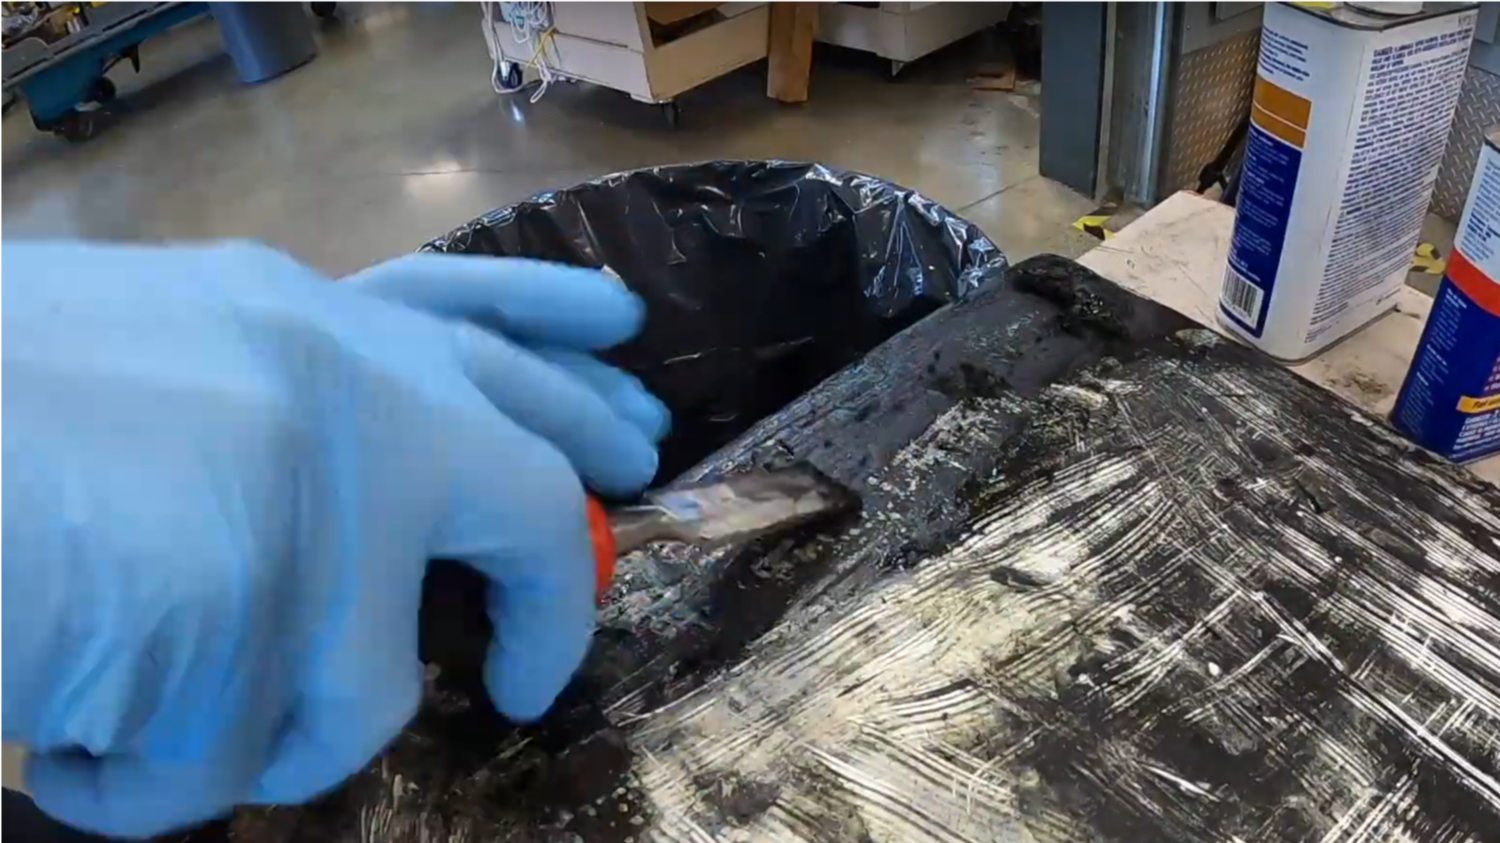
Paint stripper helped with the many years of bottom paint. Still not a fun job, but we got it done!

After stripping the bottom paint, a little sanding helped out a lot. Ready for the next step!